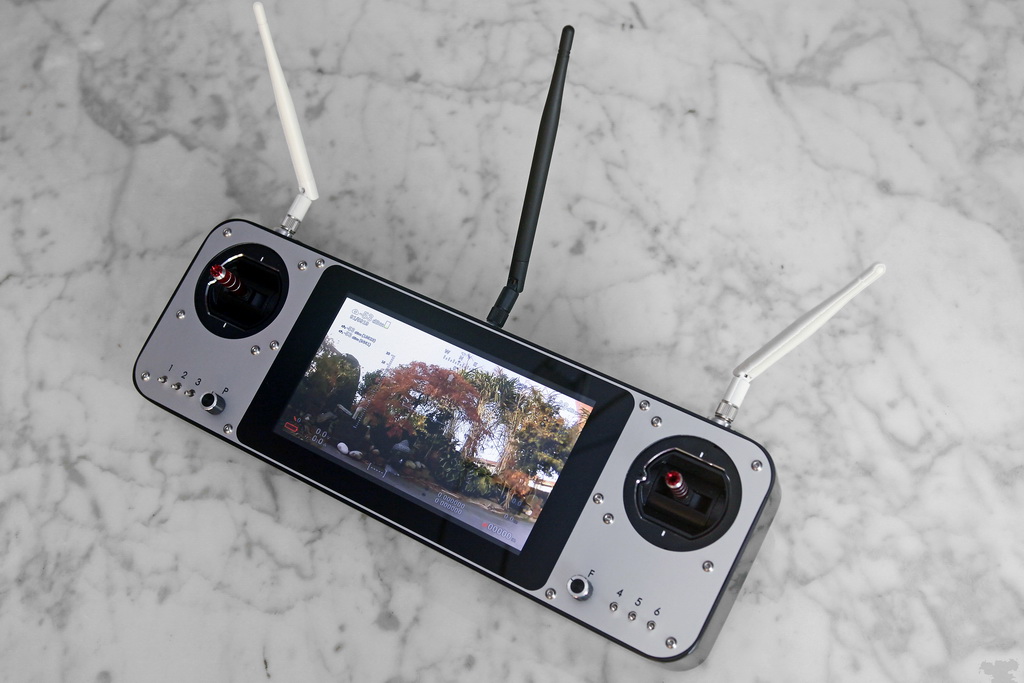
The idea was to build a dedicated OpenHD transmitter that would rule all aspects of a modern & sophisticated GCS.
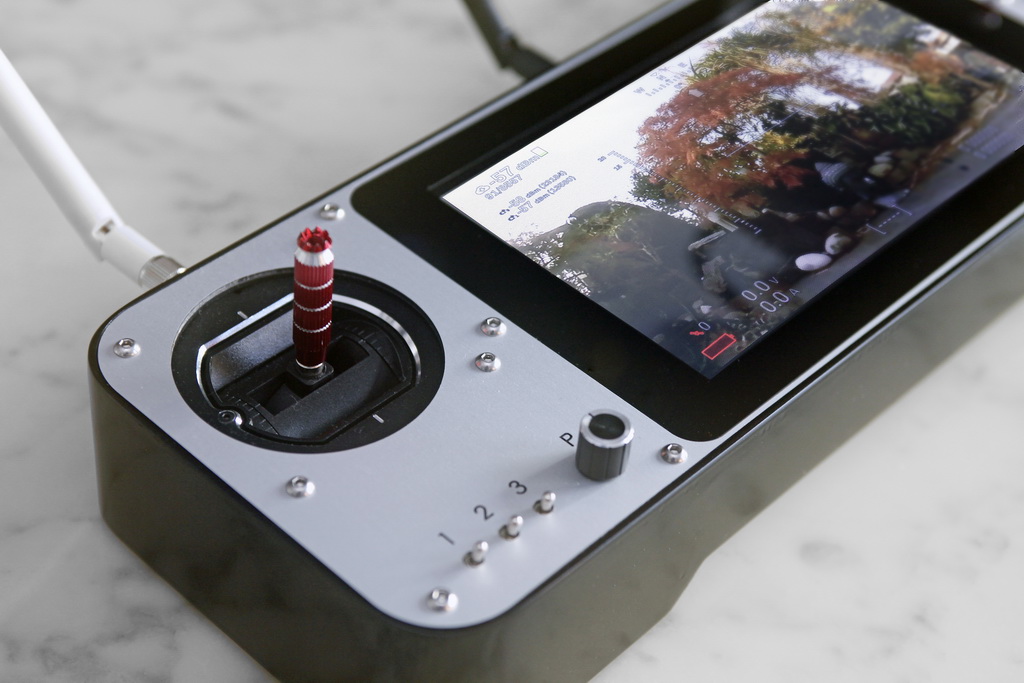
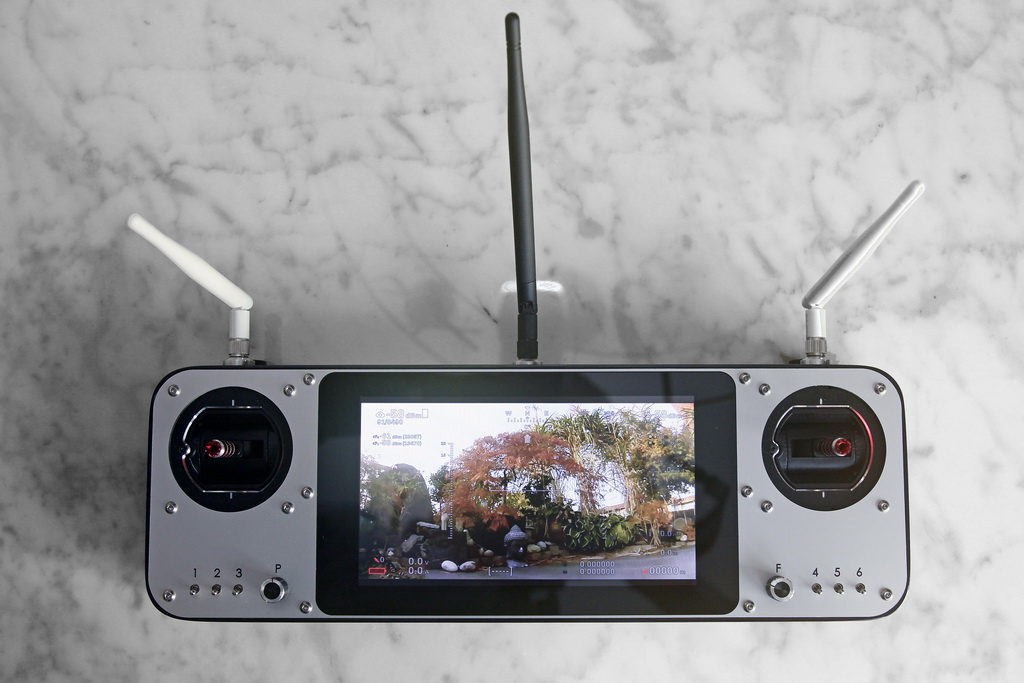
Basically it should be an AIO solution that would display the HD-Video right away on an integrated display, show telemetry data in a way the user is used to it and allow for RC-Control over MAVlink.
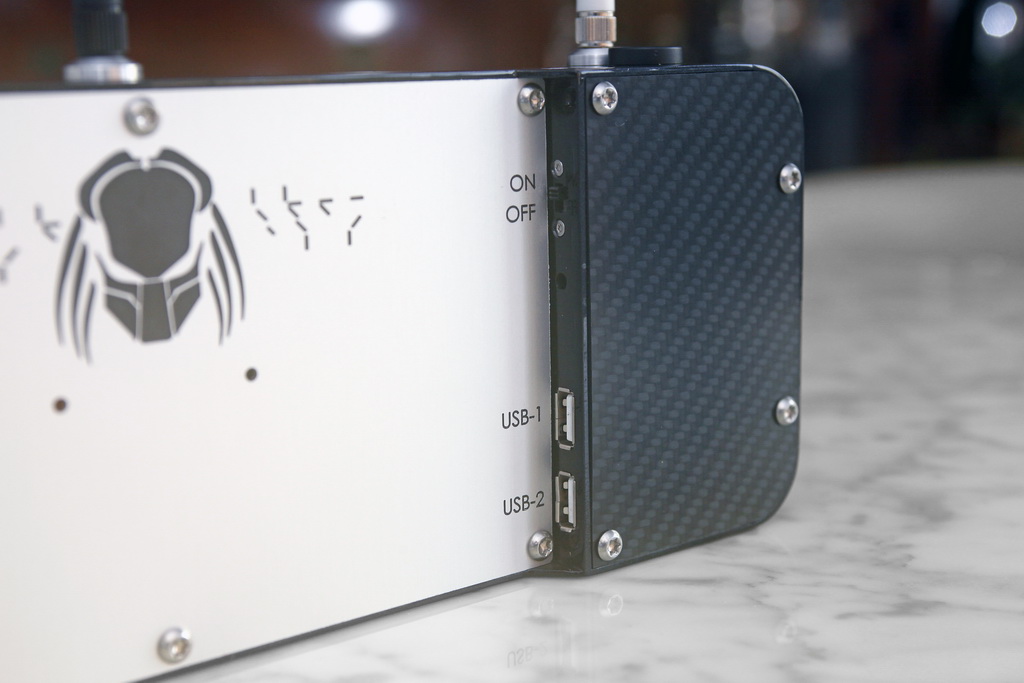
Additionally, it should offer a variety of expansion ports such as HDMI and USB. Also the Micro-SD card should easily be accessible.
Furthermore, the new experiences in relation to suitable high power WiFi adapters should be taken into account to allow for mind boggling long range flights. Last but not least ergonomics and clean and stylish design were added to the requirements list.
Hardware used:
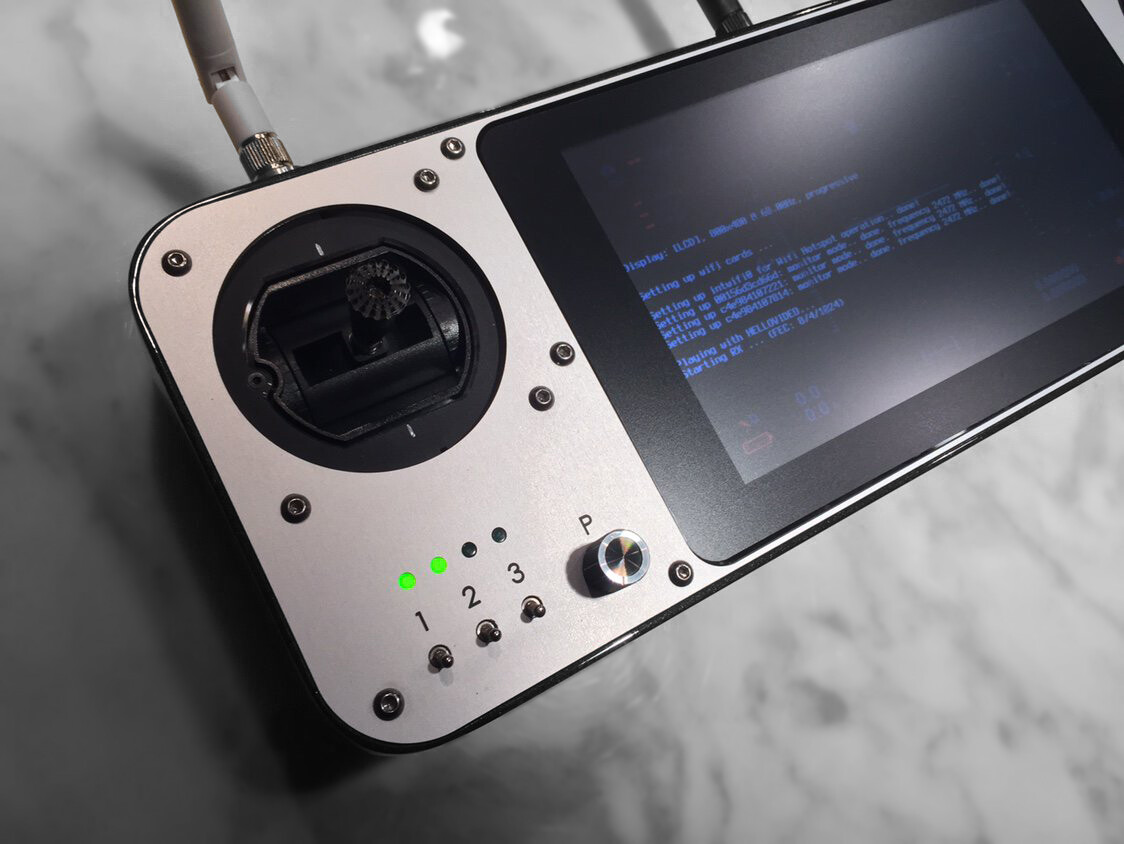
- Raspberry Pi3B
- Raspberry Pi 7" Touchscreen Display
- Ubiquiti Networks WifiStation EXT
- TP-Link TL-WN722N (v1.10) (2x)
- GeeekPi Raspberry Pi USB-Joystick controller
- FrSky X9E Replacement Gimbals (2x)
- Logilink UA0139 4 Port USB 2.0-Hub
- MINI DCDC UBEC BEC 2-6s DC 4.5-24V Step Down Module (2x)
- 25650 LiIon Cells (2x)
- 2S Lipo-Battery-Voltage-Indicator
- lots of small parts (SMA and JST connectors, etc…)
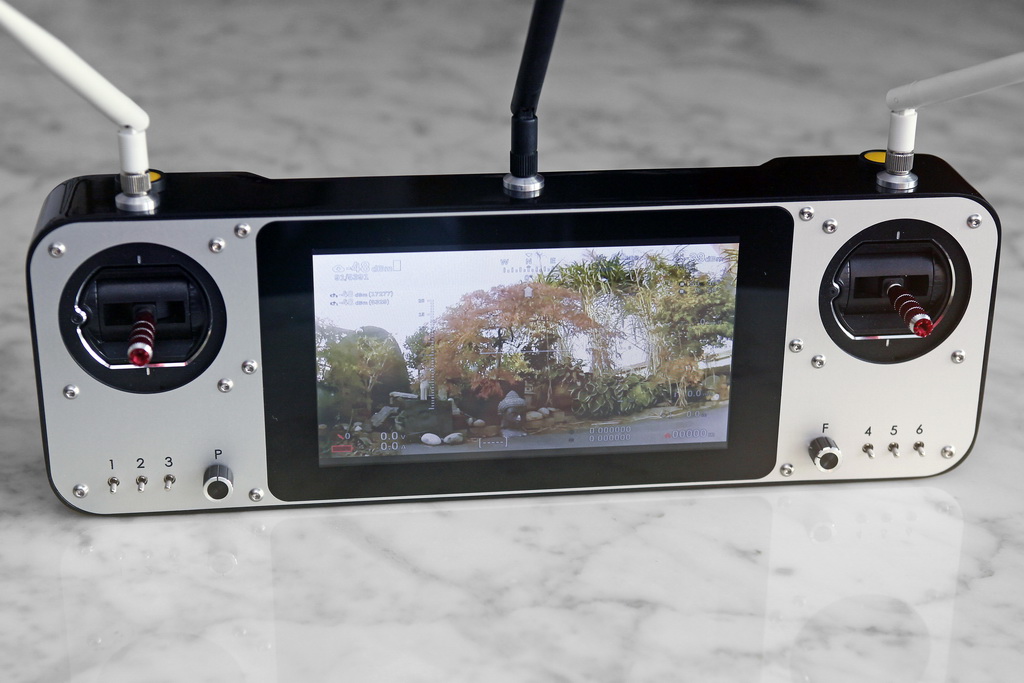
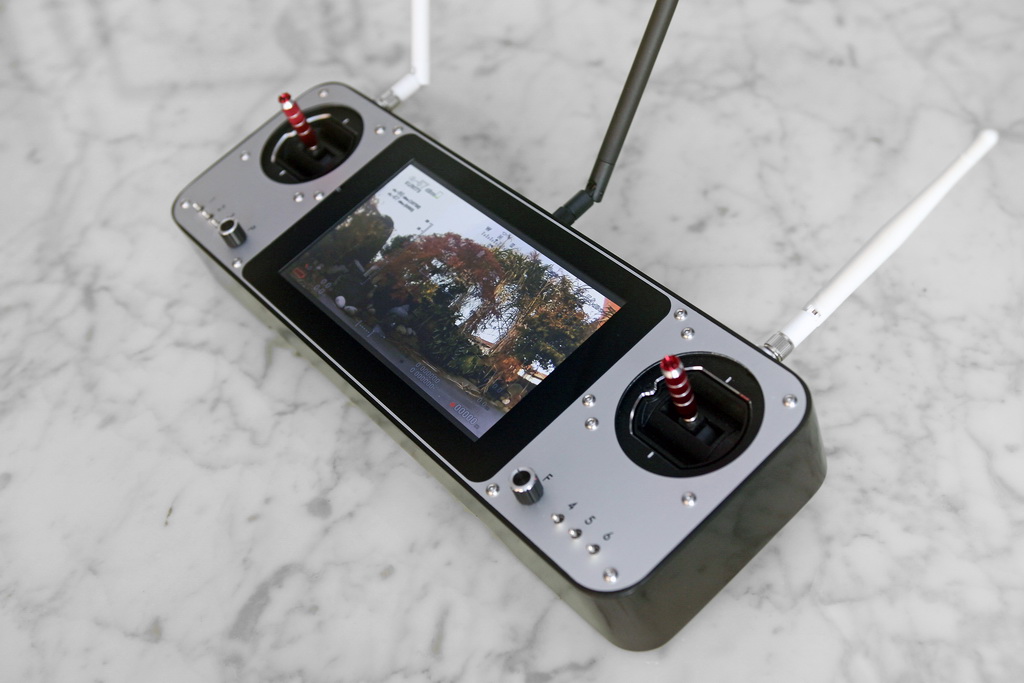
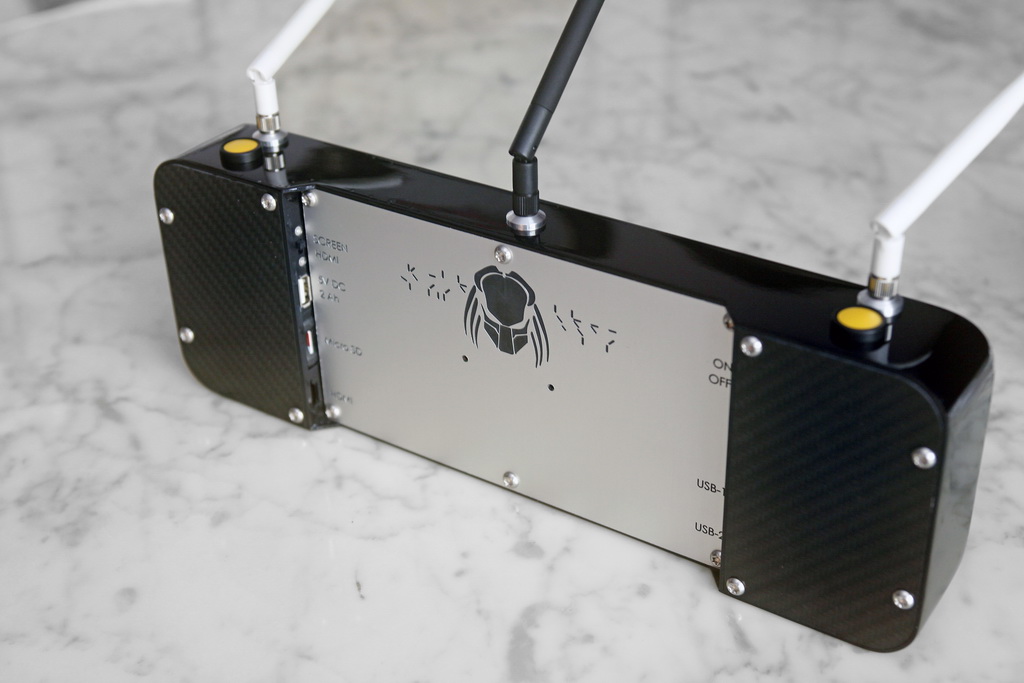
More pictures:
Sidenote:
I ran into some problems during the build that i want to share with you:
- The GeeekPi USB Joystick controller turned out to be very sensitive to RF-interference. While the 6 analogue inputs (AXIS) are protected with pull-down resistors the digital inputs (BUTTONS) are not.
#cheap chinese manufacturing. This caused all sorts of issues because an aweful lot of jitter was introduced into the system. Having a high-power WiFi-adapter nearby did certainly not help either. This issue was solved by adding 2,2kOhm pull-down resistors to each and every digital input as well.
https://github.com/OpenHD/Open.HD/blob/master/wiki-content/RC_DIY_builds/GeeekPiMod_01.JPG?raw=true
- While [1] helped a lot to get rid of the jitter this mitigation somehow did not work for the 4 digital input channels
SESTK11K12. Since I don’t use them anyway i deceided to short them out with a jumper on each input. This way I completely got rid of the jitter problem.
https://github.com/OpenHD/Open.HD/blob/master/wiki-content/RC_DIY_builds/GeeekPiMod_02.JPG?raw=true
- Additional to the jitter issue I discovered that there was some sort of an interrupt problem that showed up when using the GeeekPi board. The problem would manifest in such a way that the GeeekPi would show a joystick AXIS event even though non of the axis was moved. It would then read a number of empty registers (empty because there was no actual value from its ADCs - because there was no motion). This resulted in extrema values for the affected axis (e.g the Throttle setpoint was 0 but it would suddenly jump to -32676 for a split second). This interupt problem gets worse the more USB devices are added to the GroundPi. You can read more about the issue and how it was mitigated/solved here and here.
With these changes [1-3] the Transmitter is now working perfectly.